What Is Prototype Molding and How Does It Work?
Prototype Molding turns a digital product concept into a physical part for testing, measurement, and informed redesign. It commonly uses silicone molds, urethane casting, or low-volume injection molding. Each method balances tooling cost, surface finish, material behavior, and production speed. The choice is rarely obvious.
Market data explains why this process remains valuable. Grand View Research estimates that the global injection molding market will continue growing through 2030, supported by demand from automotive, medical, electronics, and consumer-product manufacturers. The Wohlers Report 2024 valued the global additive manufacturing industry at approximately $20.0 billion in 2023. That growth matters because many engineering teams combine 3D printing with molding before committing to mass production. Printed patterns can verify form and fit, while molded samples reveal shrinkage, texture, assembly stress, and real material performance.
Prototype Molding usually begins with CAD review and design-for-manufacturing analysis. Engineers check draft angles, wall thickness, undercuts, parting lines, and expected tolerances. A master pattern is then produced, often through CNC machining or additive manufacturing. Liquid silicone may be poured around it to create a flexible mold. For higher functional testing, aluminum tooling can support short injection runs using production-like thermoplastics.
The workflow sounds straightforward. It is not always predictable. Small temperature changes can alter viscosity, cure time, or dimensional accuracy. A mold may look excellent yet expose weak ribs during assembly. That is useful evidence, not failure. This guide examines each stage, explains the main molding options, and shows when prototype tooling provides better engineering confidence than another digital model.
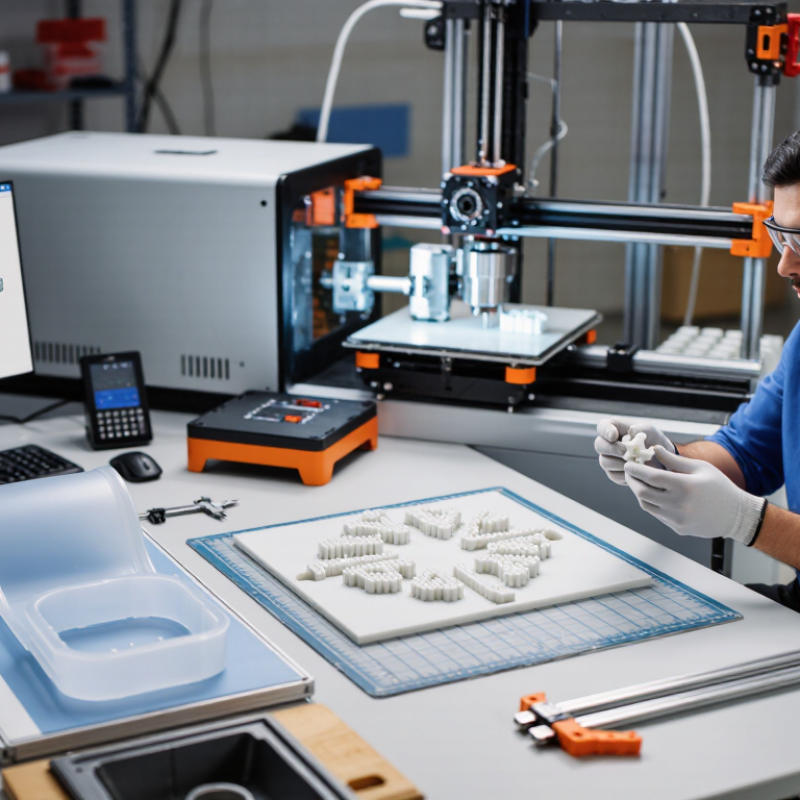
What Prototype Molding Means and Why It Is Used
Prototype molding means creating a limited number of plastic parts before investing in production tooling. It usually uses aluminum or soft steel molds. A machine injects heated resin into the cavity, then cools and ejects the part. The process resembles production molding, but tooling is faster and less expensive to modify.
According to the 2024 Wohlers Report, the additive manufacturing market reached $20.035 billion in 2023. That growth shows how strongly manufacturers value rapid physical testing. Prototype molding remains important when teams need production-like materials, surface finishes, and tolerances.
Manufacturers use prototype molding to check fit, function, assembly, and manufacturability. A housing may reveal a weak snap-fit. A medical enclosure may expose an uncomfortable edge. Engineers can revise the mold before committing to hardened production tooling.
A 2024 injection-molding market analysis estimated the global market above $260 billion in 2023. That scale explains why early process decisions matter. Still, prototype molding is not a perfect rehearsal. Different machines, resins, and cooling conditions can change results. That detail is easy to overlook.
Tips: Define the test goal before cutting steel. Record resin grade, mold temperature, cycle time, and defects. Request several parts, not one. One part can hide variation. Review the design with a tooling engineer, because a visually excellent prototype may still be difficult to manufacture reliably.
The Main Materials and Molding Methods for Prototypes
What Is Prototype Molding and How Does It Work?
Prototype molding turns a digital part design into a physical sample for testing, fitting, and production review. The process usually begins with CAD data, followed by mold design, material selection, and controlled filling. Engineers inspect wall thickness, draft angles, shrinkage, and surface finish before cutting or printing the mold. Small details matter. A 0.2-millimeter mismatch can affect assembly.
Common prototype materials include ABS, polypropylene, polycarbonate, nylon, aluminum-filled epoxy, and silicone. ABS offers practical strength and easy finishing. Polycarbonate suits transparent or impact-resistant parts. Silicone works well for flexible components and low-volume casting. For rigid injection molding, aluminum molds reduce tooling time and cost. Steel molds last longer, but they are rarely justified for early design checks. According to the Wohlers Report 2024, the global additive manufacturing industry reached about 20 billion U.S. dollars in 2023. This growth supports faster printed patterns and inserts, although printed tooling may still show heat and accuracy limits.
Several molding methods serve different prototype goals. Silicone compression or vacuum casting can produce detailed polyurethane parts, often in small batches. Prototype injection molding provides closer production behavior, including flow marks, weld lines, and cooling effects. Rotational molding suits hollow parts, while 3D-printed molds support quick geometry changes. Grand View Research has reported strong double-digit growth in the rapid prototyping market, reflecting demand for shorter development cycles. Still, speed can hide mistakes. The first mold is often wrong. Experienced teams test a sample, measure critical dimensions, and revise the mold before trusting the result.
How a Prototype Mold Is Designed and Prepared
Prototype molding begins with a disciplined mold design, not a quick block of metal. The engineer studies the parting line, wall thickness, draft angle, gate location, and expected shrinkage. A 1-degree draft may release a smooth surface, but textured walls often need more. The mold must open cleanly.
Computer-aided design creates the cavity, core, runners, vents, and cooling channels. Flow analysis can identify air traps, weld lines, and uneven filling before machining starts. The 2024 Wohlers Report valued the global additive manufacturing industry at about $20.04 billion in 2023, with 13.5% growth. This growth supports printed resin or metal inserts for early mold trials, although printed inserts may wear quickly under heat and pressure. That limitation matters.
Preparation includes material selection, machining allowances, surface finishing, and dimensional inspection. Aluminum can shorten machining time, while hardened steel better suits repeated prototype shots. Technicians check cavity dimensions with coordinate measuring equipment, then assemble the mold and test clamp alignment. Initial shots reveal problems that software misses. I have seen a small venting error create burn marks near a thin rib. The first layout is rarely perfect. A practical review should question cooling balance, ejection force, and whether the mold can be repaired without damaging the parting surface. ISO 20457 also emphasizes controlled tolerances for injection-molded components, supporting measured validation rather than visual approval alone.
The Step-by-Step Process of Making a Molded Prototype
What Is Prototype Molding and How Does It Work?
The Step-by-Step Process of Making a Molded Prototype
Prototype molding turns a digital design into a physical test part. The process begins with a clear product goal and a reviewed CAD model. Engineers check wall thickness, draft angles, and possible undercuts. These details affect mold release and part quality. Material choice matters too. Plastic flow, shrinkage, strength, and surface finish must match the intended use.
The mold is then designed around the part. A technician selects the parting line, gate location, runners, vents, and cooling paths. Mold components may be machined from aluminum or steel, depending on quantity and durability needs. CNC machining creates the main geometry. Fine features may require additional finishing. The mold is assembled and placed into an injection molding machine. Heated material fills the cavity under controlled pressure. After cooling, the mold opens and the prototype is removed.
The first result may disappoint. That is normal. Engineers inspect dimensions with calipers, gauges, or scanning equipment. They also look for flash, sink marks, short shots, warpage, and uneven texture. A small gate adjustment can change the filling pattern. A longer cooling period may reduce distortion. In practice, prototype molding often needs several corrections. I have found that overlooked draft angles create avoidable damage during ejection. Design reviews should be careful, but real parts still reveal problems that screens cannot show.
Prototype Molding: Typical Process Timeline
This chart shows a representative lead-time allocation for producing a molded prototype, from design review through final prototype production. Actual timing depends on part complexity, mold material, tooling method, and required surface finish.
How it works: The process begins with CAD and design-for-moldability review, followed by mold design and fabrication. The mold is then tested, adjusted if necessary, and used to produce the prototype parts.
